Custom Pool Construction: Turning Your Dream Pool Into Reality
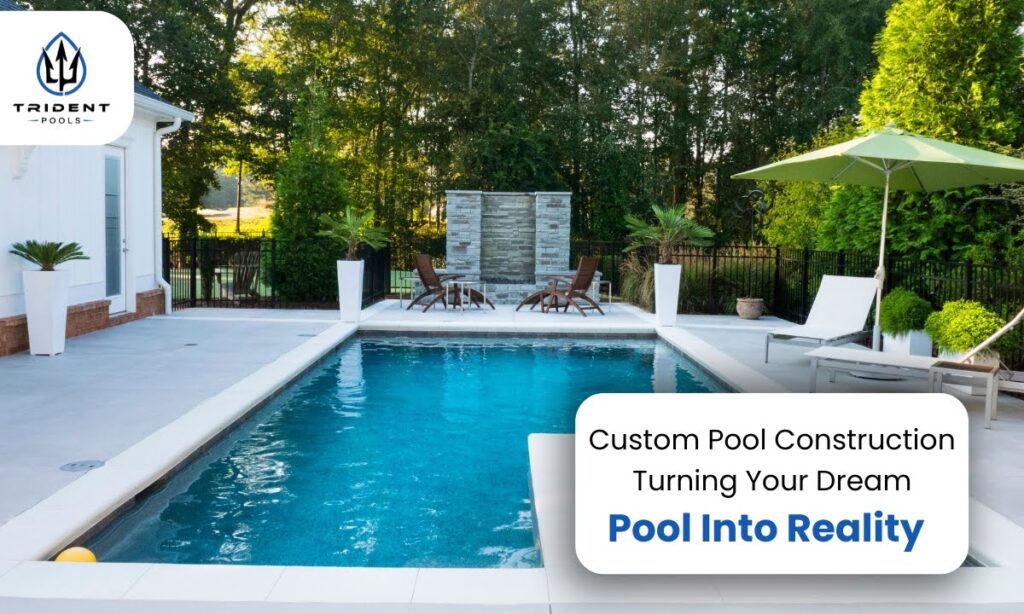
Imagine stepping into your backyard and being greeted by the sparkling blue water of your very own custom-built pool. Whether it’s for family fun, personal relaxation, or boosting your property value, a custom pool is a great investment. But, custom pool construction involves a lot more than just digging a hole and filling it with water.
From selecting the right materials to designing the pool layout, every step requires careful planning. In this blog, we’ll walk you through the entire custom pool construction process. By the end, you’ll know exactly what goes into creating a pool that fits your lifestyle and budget.
Why Choose Custom Pool Construction?
Opting for custom pool construction gives you the freedom to design a pool that suits your personal taste and functional needs. Whether you envision a simple lap pool or a luxurious infinity pool, custom designs allow for endless possibilities. You also get the benefit of choosing the materials, finishes, and features that match your home’s aesthetics.
Unlike prefabricated pools, custom pools are designed specifically for your outdoor space. This means better use of your yard’s layout and more efficient integration with existing landscaping.

Step 1: Planning and Designing Your Pool
The first step in custom pool construction is planning and designing. Think about the size, shape, and depth of your ideal pool. Do you want an elegant rectangular pool for swimming laps, or would you prefer a curvier design that blends with natural surroundings? Deciding on a shape early on helps with other choices down the line, like decking, landscaping, and extra features.
Consider These Factors During Design:
- Pool Type: Inground pools are typically more durable and customizable than above-ground options.
- Materials: The most common choices are concrete, fiberglass, and vinyl liner. Concrete is the most flexible for custom designs but takes longer to install.
- Extra Features: Do you want a pool with a waterfall, spa, or built-in lighting? Plan these features in the design phase to avoid costly changes later.
Quick Tip: During the planning stage, consider the long-term maintenance needs of your custom pool. Some materials may require more upkeep than others.
Step 2: Preparing the Site
Once you’ve finalized the design, it’s time to prepare the site. This stage involves clearing and leveling the land where the pool will be constructed. Any obstacles, such as trees, rocks, or uneven ground, will need to be removed.
- Excavation: After the site is prepped, the excavation process begins. This is when the pool area is dug to match the design dimensions. Depending on your design, excavation could take anywhere from a few days to a week.
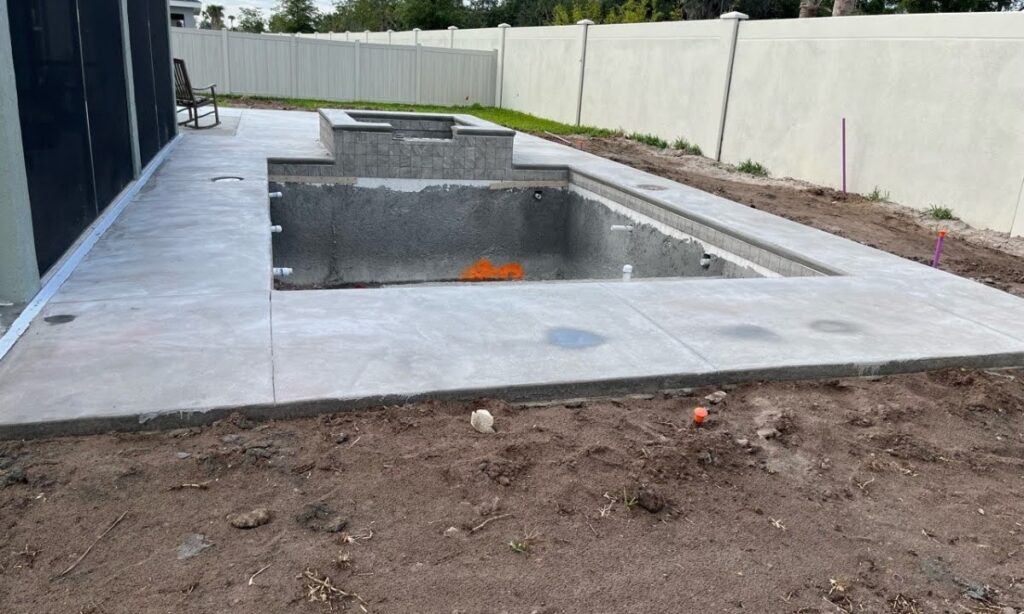
- Plumbing and Electrical: It’s important to lay the plumbing and electrical systems before pouring the foundation. These systems ensure proper water circulation, heating, and lighting.
Quick Fact: Professional pool builders will conduct a soil test before excavation to ensure the ground is stable enough to support the weight of your custom pool.

Step 3: Building the Pool Structure
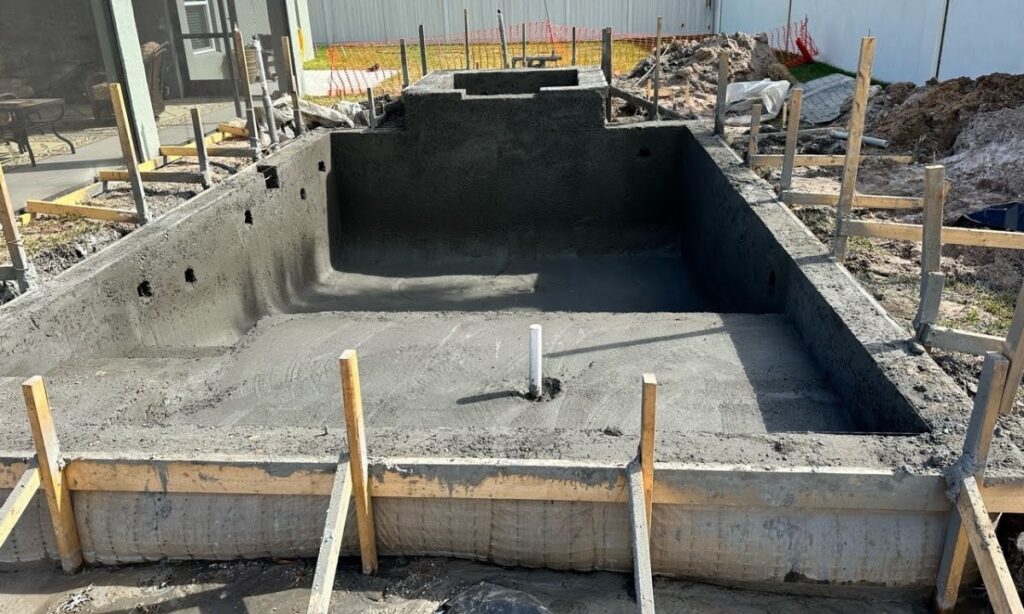
With the site ready, the construction phase can begin. This step involves installing the pool structure, which can vary depending on the materials you’ve chosen. Concrete pools are built by setting up a rebar frame and pouring concrete into the form. Fiberglass pools, on the other hand, come in pre-molded shells that are placed into the excavated hole.
- Installing the Frame: The pool’s frame is built using steel rebar, giving the pool its shape and adding strength. Afterward, the concrete is poured or sprayed onto the frame.
- Waterproofing and Sealing: Once the structure is set, waterproofing materials are applied to protect the pool from leaks. Sealing is critical to ensure your custom pool is built to last.
Quick Tip: For a smooth finish, consider using tile or a polished concrete surface for the interior of your pool.

Step 4: Customizing with Features
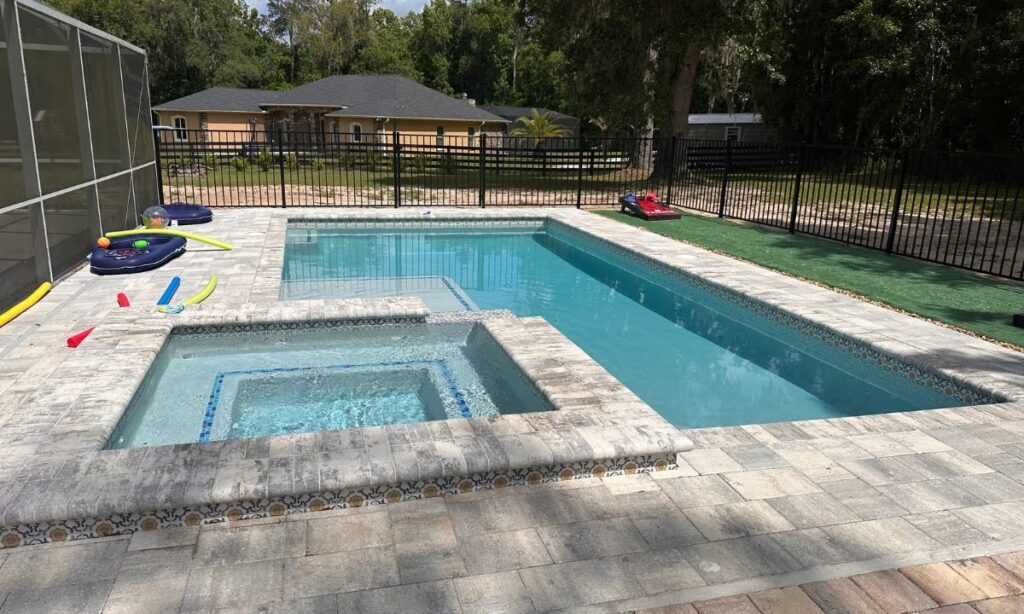
Now that the basic structure is in place, it’s time to customize your pool with the features you’ve been dreaming about. Whether it’s a relaxing spa, waterfall, or colorful lighting, this stage adds personality to your pool.
- Pool Decking: The decking around your pool provides a finished look and ensures a non-slip surface. Choose from various options such as concrete, stone, or pavers.
- Water Features: If you want to make your pool even more luxurious, consider adding water features like a fountain, waterfall, or even a pool bar.
- Landscaping: The landscape around your custom pool construction can enhance the overall ambiance. Consider adding plants, trees, or decorative lighting.
Step 5: Filling and Testing the Pool
After all the construction work is complete, it’s time to fill the pool with water and test the equipment. The plumbing, filters, and electrical systems will be checked to ensure everything functions properly.
- Water Testing: A professional pool builder will conduct a series of water tests to balance the chemicals and ensure that the filtration system is working correctly.
- Final Inspection: Before you take your first dip, the pool will undergo a final inspection to confirm that everything meets safety standards.
Maintenance Tips for Your Custom Pool
Owning a custom pool comes with the responsibility of regular maintenance. Skipping routine care can lead to costly repairs down the road.
Simple Pool Maintenance Tips:
- Clean Regularly: Skim the surface of your pool and vacuum the bottom weekly to prevent debris buildup.
- Check Chemical Levels: Maintain balanced water chemistry to keep your pool clean and safe.
- Inspect Equipment: Make sure the filtration and heating systems are working efficiently to avoid breakdowns.
Common Mistakes to Avoid in Custom Pool Construction
Building a custom pool is exciting, but certain mistakes can slow down the process or result in a less-than-perfect outcome. Here are some pitfalls to avoid:
- Poor Planning: Not planning the design thoroughly can lead to unexpected costs and delays.
- Skipping Maintenance Planning: Custom pools often require special care, especially if you have added features like waterfalls or spas.
- Choosing the Wrong Materials: Not all pool materials are suited for every environment. Make sure you choose materials that can withstand the climate in your area.
Conclusion
Custom pool construction is a rewarding process that allows you to create a personal oasis tailored to your needs. From design to installation, each step plays an important role in building a safe and functional pool. By following this guide and working with professional pool builders, you can ensure your dream pool becomes a reality.
Call to Action:
Ready to start your custom pool construction? Contact Trident Pool Solutions today for expert advice and quality pool construction services that will exceed your expectations.

